This is a very gentle introduction to fetching data from an external API in iOS. This tutorial is aimed at beginners and doesn’t assume any prior knowledge.
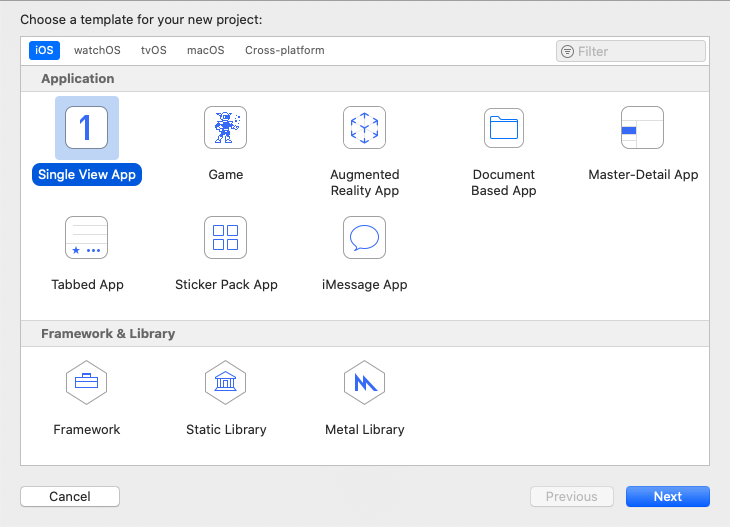
Open up Xcode and create a new Single View App.
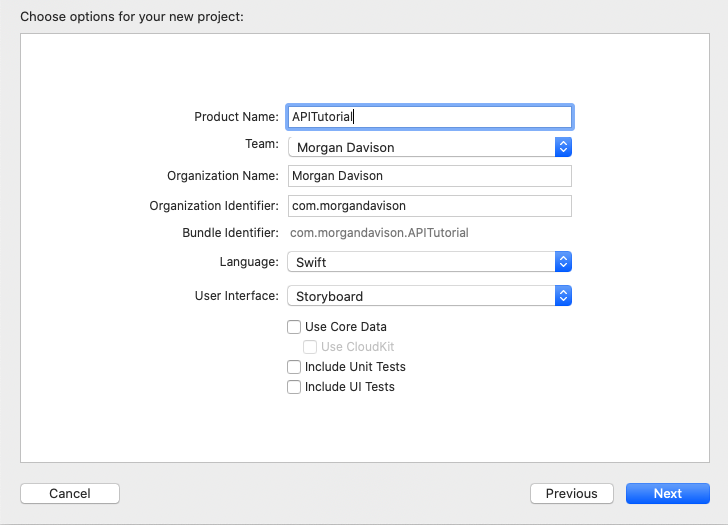
Name it whatever you want, but I’ll call mine “APITutorial.” You can uncheck all the boxes. We won’t need any of those for this tutorial.
Open Main.storyboard and delete the existing View Controller. Also delete the ViewController.swift file. We’re going to start from scratch.
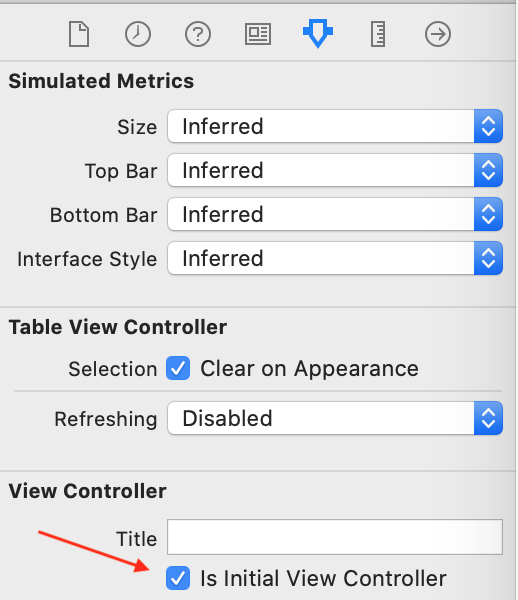
Still in Main.storyboard, drag out a TableViewController. Remember to check the box, “Is initial View Controller.”
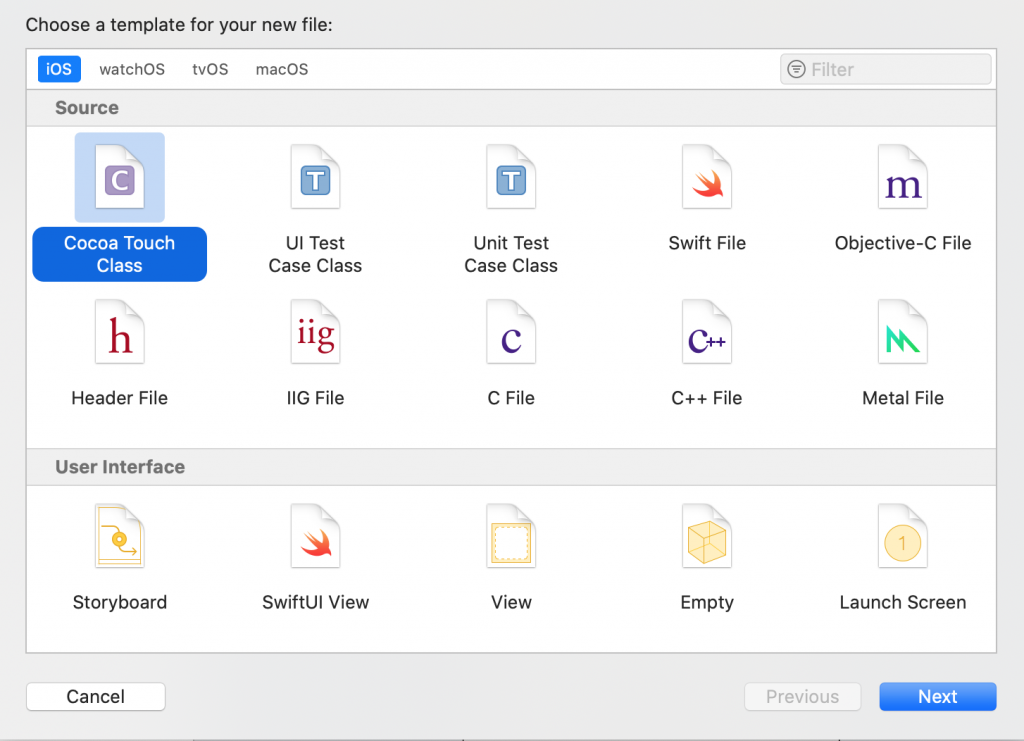
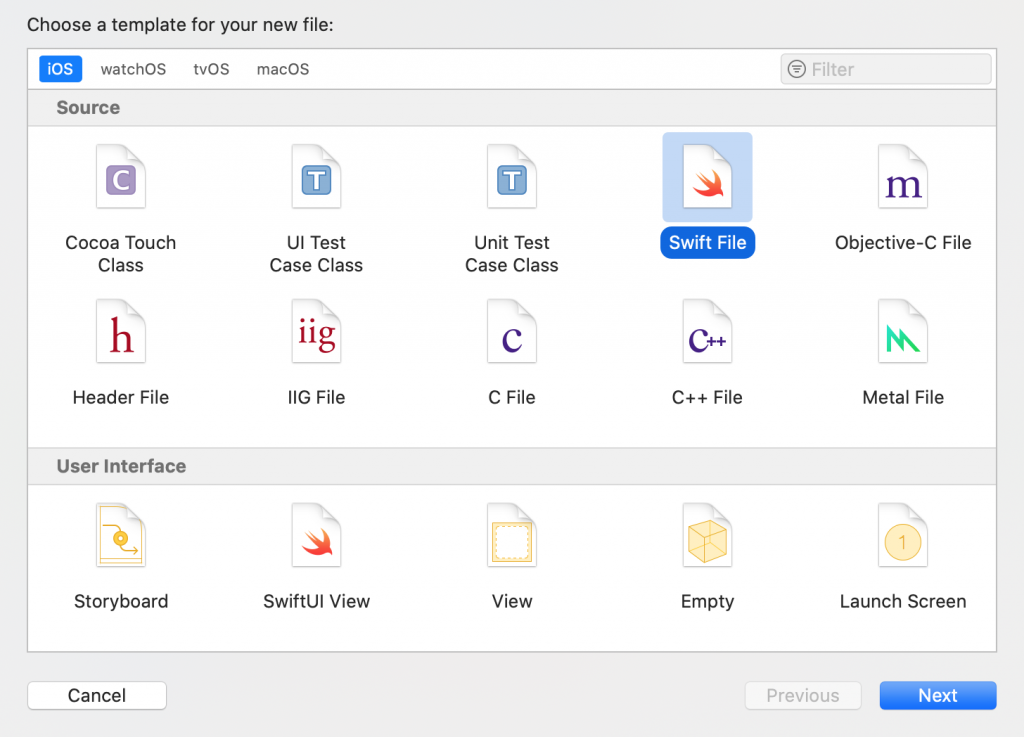
Create a new Cocoa Touch file that inherits from UITableViewController and call it “PostsTableViewController.”
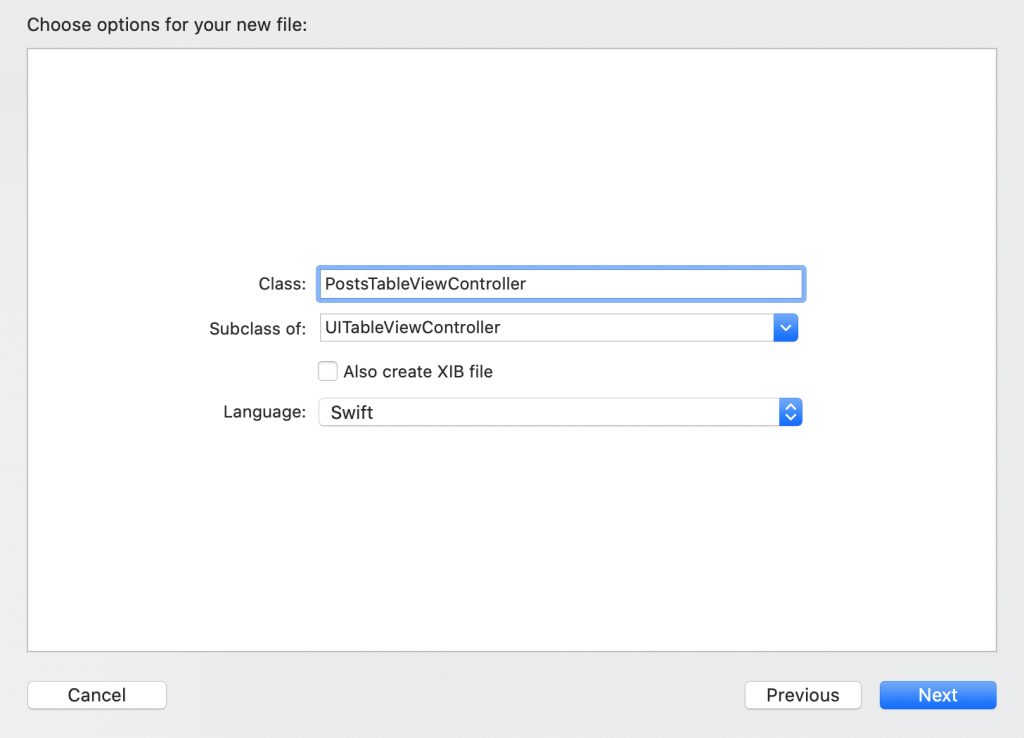
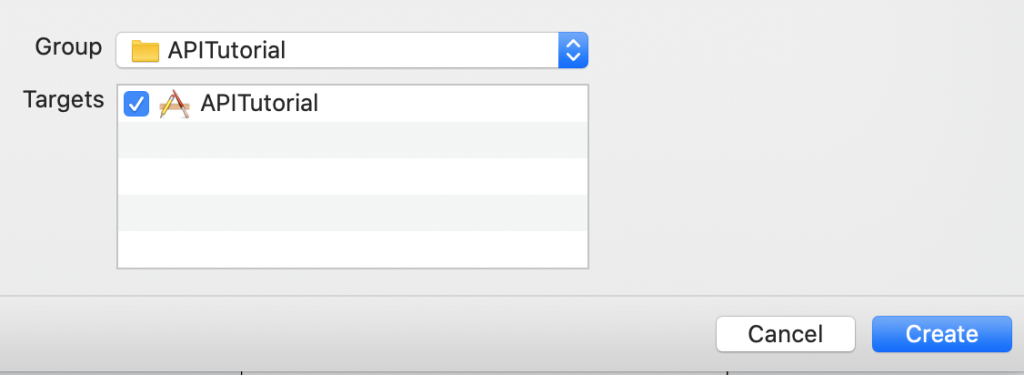
And save it in the APITutorial group.
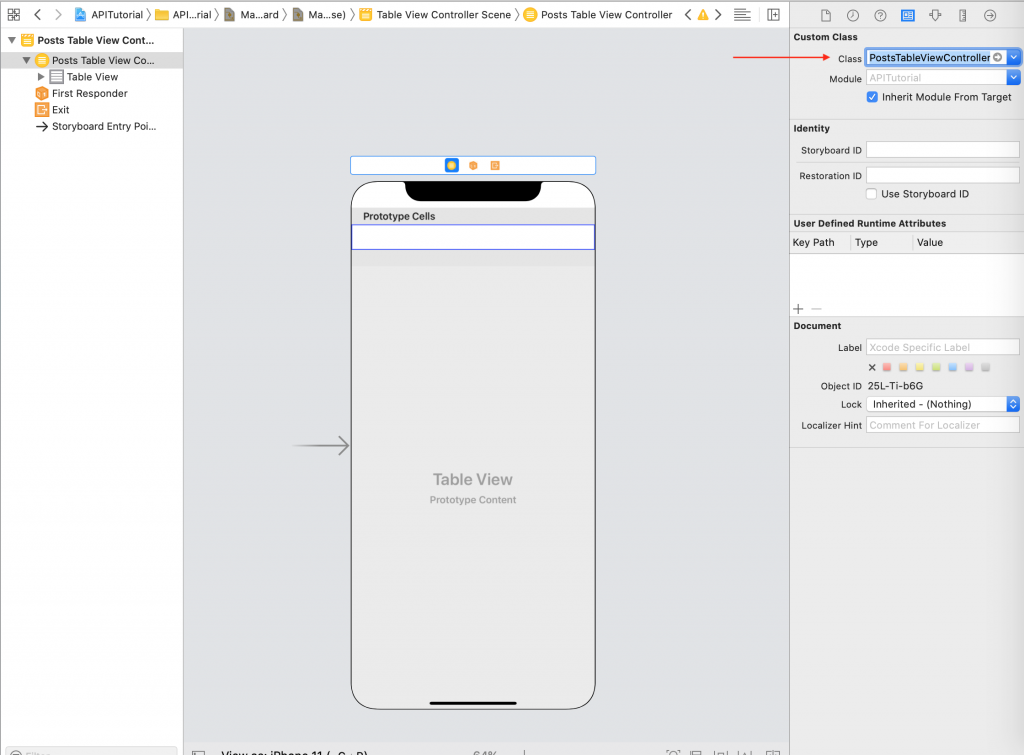
Before we forget, go back to Main.storyboard and set the class to be the new PostsTableViewController.
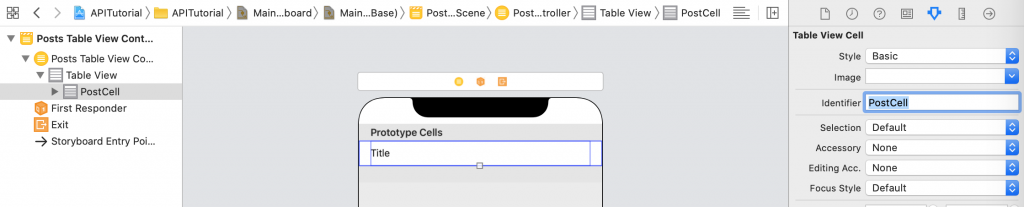
Select the Table View Cell and set the style to Basic and set the cell reuse identifier to “PostCell.”
To start with, we’re going to just hard-code some data to get something on the screen. Open PostsTableViewController and right after the class definition, add this:
class PostsTableViewController: UITableViewController {

    let posts = [
        “Hello”,
        “Foo”,
        “Bar”
    ]

. . .
Next, go down to the table view data source section and update the placeholder methods. You can remove the numberOfSections(in) method entirely, since we only need one section and that’s what it will default to if you don’t override that method. The entire class should look like this:
import UIKit
class PostsTableViewController: UITableViewController {
let posts = [
“Hello”,
“Foo”,
“Bar”
]
override func viewDidLoad() {
super.viewDidLoad()
}
// MARK: - Table view data source
override func tableView(_ tableView: UITableView, numberOfRowsInSection section: Int) -> Int {
return posts.count
}
override func tableView(_ tableView: UITableView, cellForRowAt indexPath: IndexPath) -> UITableViewCell {
let cell = tableView.dequeueReusableCell(withIdentifier: “PostCell”, for: indexPath)
let post = posts[indexPath.row]
cell.textLabel?.text = post
return cell
}
/*
// MARK: - Navigation
// In a storyboard-based application, you will often want to do a little preparation before navigation
override func prepare(for segue: UIStoryboardSegue, sender: Any?) {
// Get the new view controller using segue.destination.
// Pass the selected object to the new view controller.
}
*/
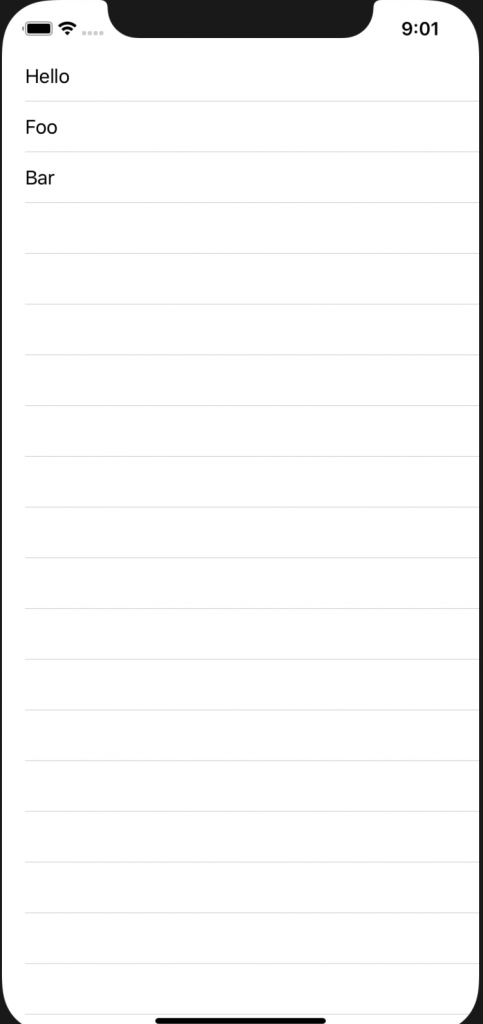
}Remember to update the identifier string in the tableView(_cellForRowAt:indexPath) method. We can leave in the commented-out prepare(for:sender) method since we’ll be using that later. That should be enough to display something. Go ahead and run the project in the simulator now. Hopefully you’ll see something like this:
Ok, now let’s finally fetch some data from the network. Create a helper method called fetchPosts and call it from viewDidLoad
We’ll start with the most basic implementation:
private func fetchPosts() {
    guard let url = URL(string: “https://jsonplaceholder.typicode.com/posts”) else {
        print(“Failed to create a URL from the string.”)
        return
    }

    let task = URLSession.shared.dataTask(with: url) { data, response, error in
        if let error = error {
            print(“Error fetching data: \(error.localizedDescription)”)
            return
        }

        print(“Fetched posts”)
        print(data)
    }

    task.resume()
}
If you run it now, you should get something like this printed to the console:
Fetched posts
Optional(27520 bytes)
Obviously, we need to convert those 27520 bytes into something we can use. That’s where Codable comes in. We’ll create a new file to house our data model. Create a new Swift file and call it Post.swift.
In that file, create a Struct that conforms to the Codable protocol.
import Foundation

struct Post: Codable {
    var id: Int
    var title: String
    var body: String
}
Back in PostsTableViewController.swift, update fetchPosts() to decode the data.
private func fetchPosts() {
    guard let url = URL(string: “https://jsonplaceholder.typicode.com/posts”) else {
        print(“Failed to create a URL from the string.”)
        return
    }

    let task = URLSession.shared.dataTask(with: url) { data, response, error in
        if let error = error {
            print("Error fetching data: \(error.localizedDescription)")
            return
        }

        guard let data = data else {
            print(“No data”)
            return
        }

        let decoder = JSONDecoder()

        do {
            let decoded = try decoder.decode([Post].self, from: data)
            print(decoded[0].title)
        } catch {
            print("Failed to decode data: \(error.localizedDescription)")
        }
    }

    task.resume()
}
If you run it now, you should get some placeholder text printed to the console. Now we want to replace our temporary posts array with data from the network. Replace the posts array at the top of PostsTableViewController with
var posts = [Post]()Edit fetchPosts() again to update the posts array and reload the table view with the new data. We’ll need to capture self here since we’re in a closure. Add weak self to the front of the closure and then use it when with posts and tableView.
let task = URLSession.shared.dataTask(with: url) { [weak self] data, response, error inAlso, since we’re fetching the data on a background thread, we need to get back on the main thread to update the table view. UI updates always need to happen on the main thread. So the fetchPosts() function should now look like this:
private func fetchPosts() {
    guard let url = URL(string: “https://jsonplaceholder.typicode.com/posts”) else {
        print("Failed to create a URL from the string.")
        return
    }

    let task = URLSession.shared.dataTask(with: url) { [weak self] data, response, error in
        if let error = error {
            print(“Error fetching data: \(error.localizedDescription)”)
            return
        }

        guard let data = data else {
            print(“No data”)
            return
        }

        let decoder = JSONDecoder()

        do {
            self?.posts = try decoder.decode([Post].self, from: data)
        } catch {
            print("Failed to decode data: \(error.localizedDescription)")
        }

        DispatchQueue.main.async {
            self?.tableView.reloadData()
        }
    }

    task.resume()
}
Now update tableView(cellForRowAt:indexPath) to use the title property of the Post object.
override func tableView(_ tableView: UITableView, cellForRowAt indexPath: IndexPath) -> UITableViewCell {
    let cell = tableView.dequeueReusableCell(withIdentifier: "PostCell", for: indexPath)

    let post = posts[indexPath.row]
    cell.textLabel?.text = post.title

    return cell
}
Go ahead and run it and you should see the table view populated with the sample data from the network.
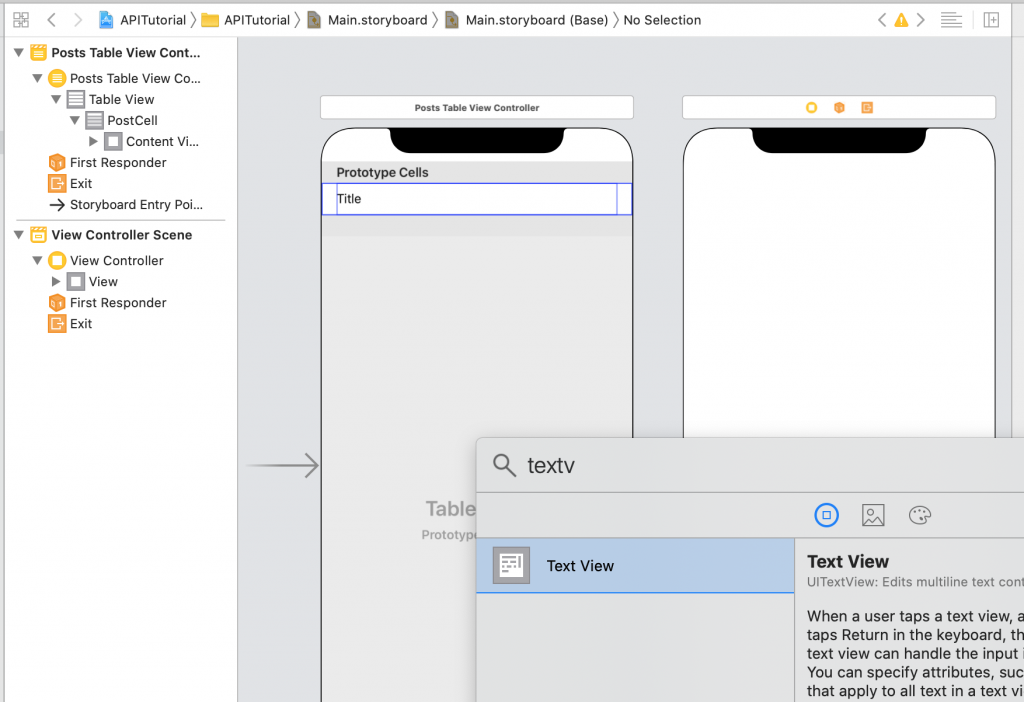
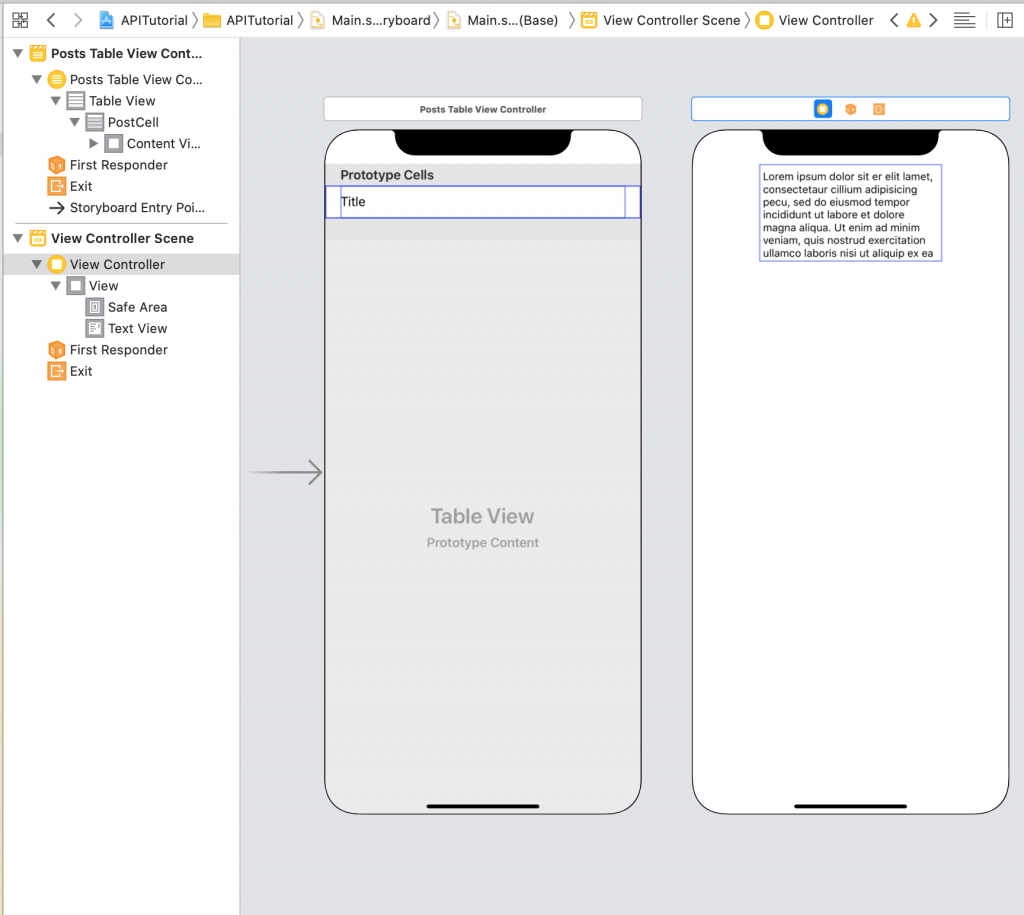
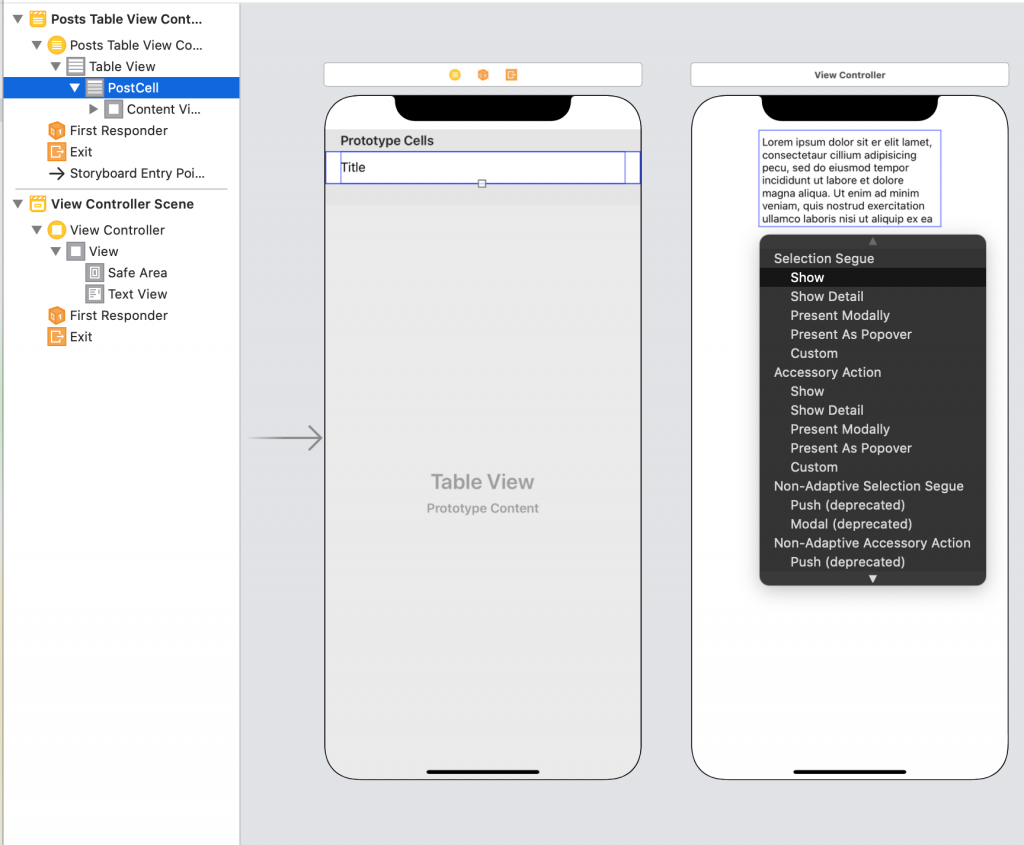
Now, let’s implement viewing the full text of the post when we tap on a row. Open Main.storyboard and drag out a new ViewController and add a text view to it.
Control-drag from the table view cell to the new view and select “Show” to create a new segue.
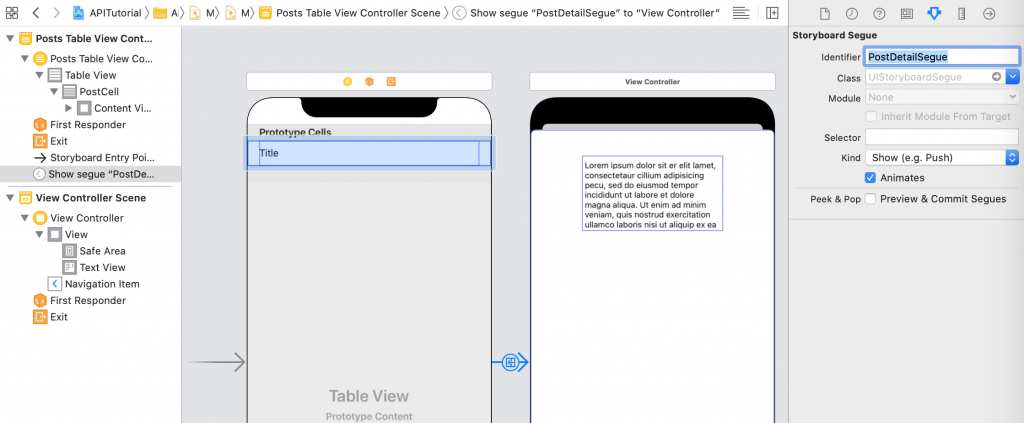
Select the segue and name it “PostDetailSegue.”
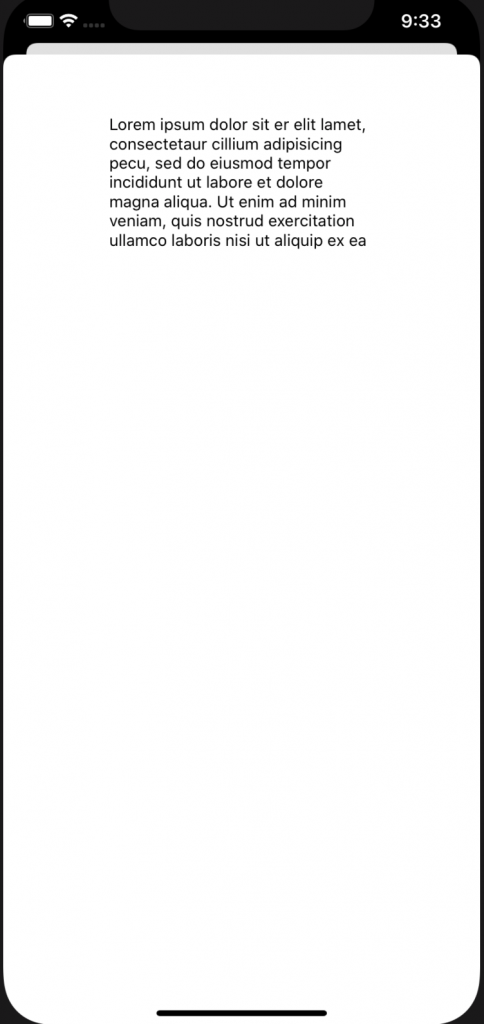
Now if you run it, you should be able to tap a cell and see the new view.
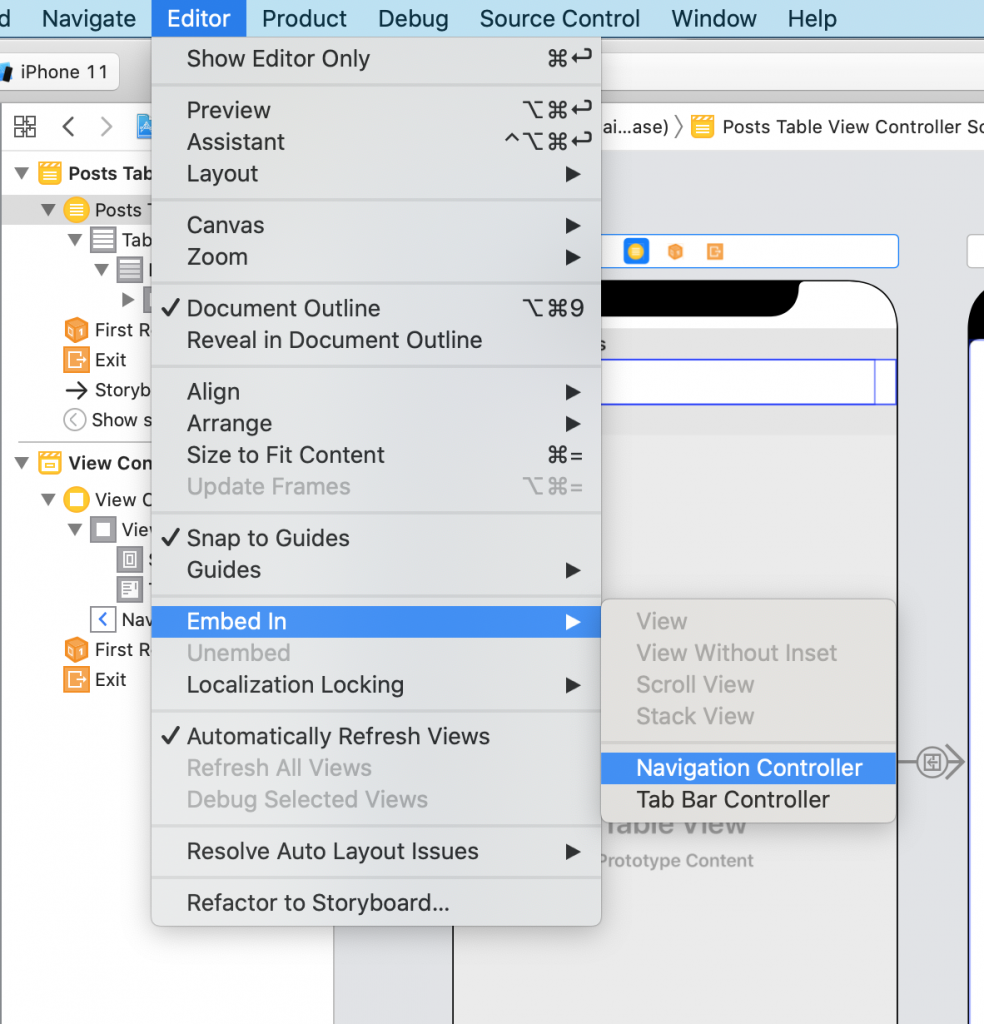
Let’s go ahead and embed the Posts Table View Controller in a Navigation Controller so we have a way to navigate back. Select the Posts Table View Controller in the storyboard and go to Editor -> Embed In -> Navigation Controller.
Your storyboard should now look like this:
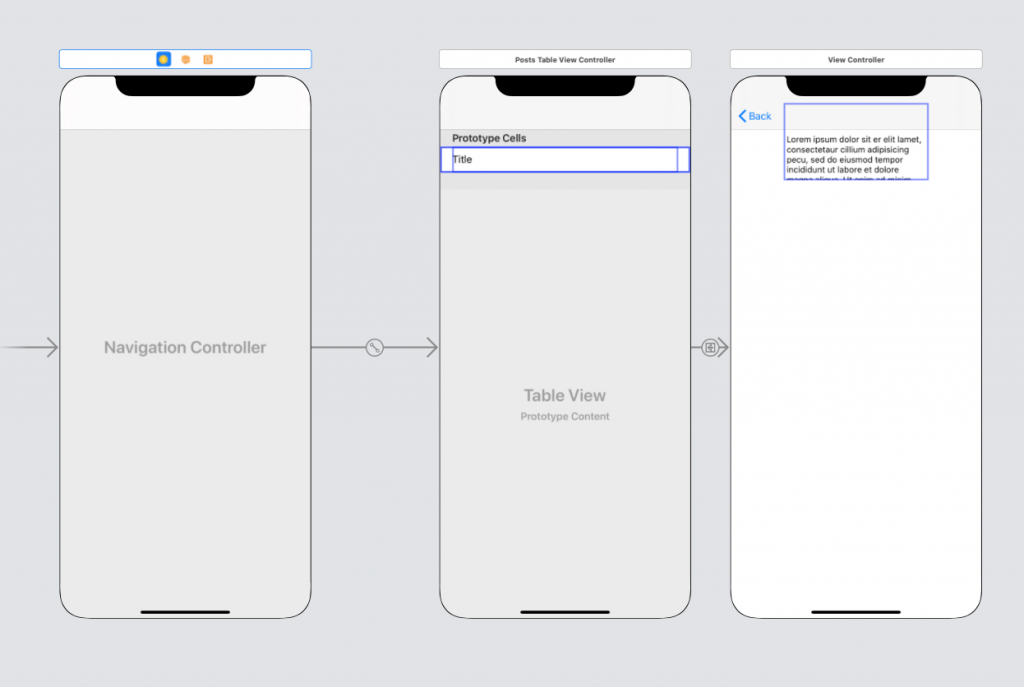
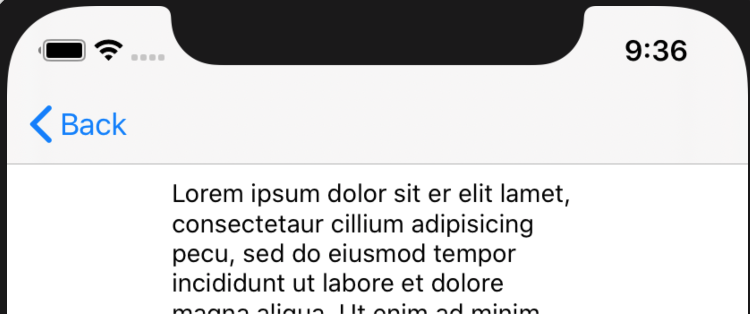
Now when we run it, we should get a nice little “Back” button in the detail view.
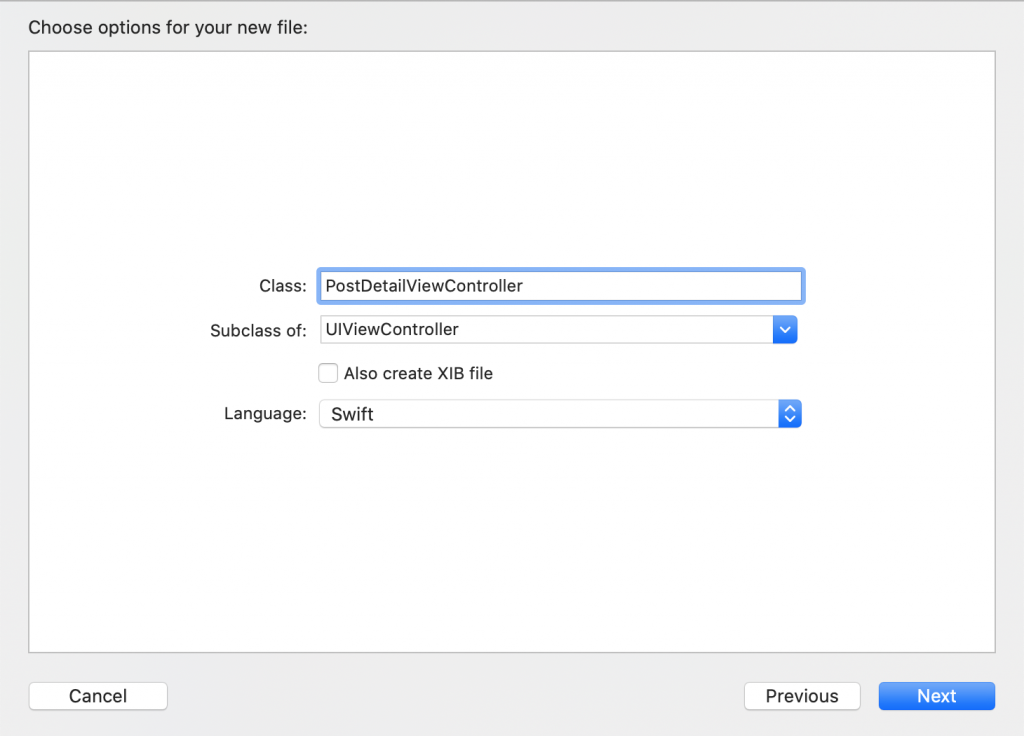
Create a new Cocoa Touch class that inherits from UIViewController and call it “PostDetailViewController.swift.”
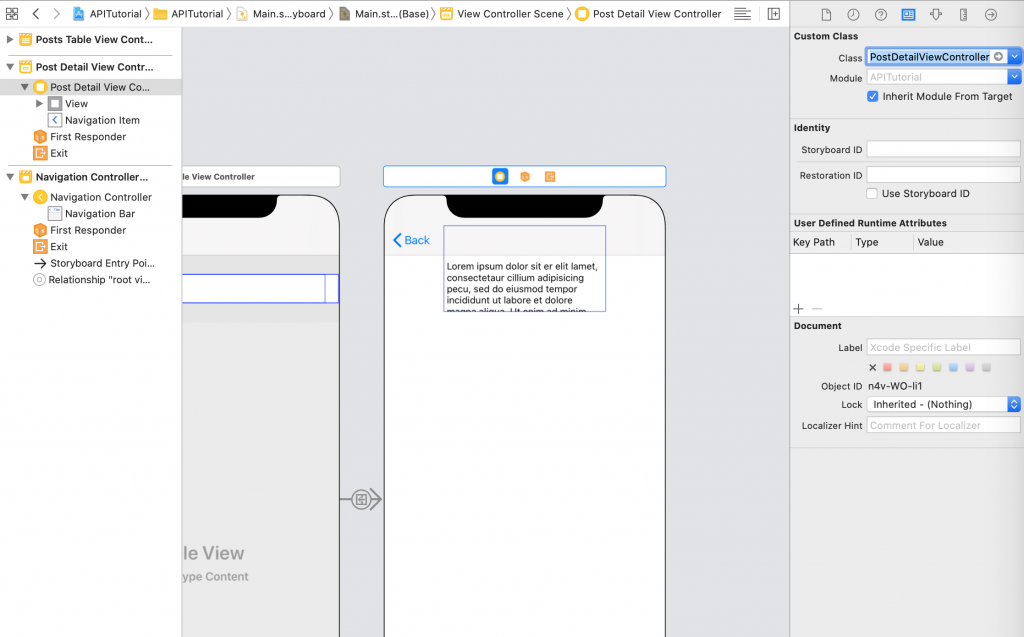
Go back to the storyboard and update the new View Controller to now be a PostDetailViewController.
With Main.storyboard still open, Option-click on PostDetailViewController.swift to get the Assistant Editor. Control-drag from the text view to PostDetailViewController.swift to create a new outlet. Call it “postDetailTextView.” Your PostDetailViewController.swift file should look like this:
import UIKit

class PostDetailViewController: UIViewController {

    @IBOutlet weak var postDetailTextView: UITextView!

    override func viewDidLoad() {
        super.viewDidLoad()

        // Do any additional setup after loading the view.
    }


    /*
    // MARK: - Navigation

    // In a storyboard-based application, you will often want to do a little preparation before navigation
    override func prepare(for segue: UIStoryboardSegue, sender: Any?) {
        // Get the new view controller using segue.destination.
        // Pass the selected object to the new view controller.
    }
    */

}
After the @IBOutlet create another variable to hold the Post object.
class PostDetailViewController: UIViewController {

    @IBOutlet weak var postDetailTextView: UITextView!

    var post: Post?

. . .
Now go back to PostsTableViewController.swift, where we’ll set that post variable in the prepare(for:sender) method. Go ahead and uncomment the // Mark - Navigation section.
// MARK: - Navigation

// In a storyboard-based application, you will often want to do a little preparation before navigation
override func prepare(for segue: UIStoryboardSegue, sender: Any?) {
    // Get the new view controller using segue.destination.
    // Pass the selected object to the new view controller.
}
Get the PostDetailViewController from the segue.destination and set the post variable from the currently selected post.
override func prepare(for segue: UIStoryboardSegue, sender: Any?) {
    guard
        let postDetailViewController = segue.destination as? PostDetailViewController,
        let indexPath = tableView.indexPathForSelectedRow
        else {
            return
    }

    let post = posts[indexPath.row]
    postDetailViewController.post = post
}
Now that we have the post in the detail view, we need to display it. Open PostDetailViewController.swift again and set it in viewDidLoad().
override func viewDidLoad() {
    super.viewDidLoad()

    postDetailTextView.text = post?.body
}
If we run the app now and tap on a row, we should get different placeholder than the current “Lorem ipsum dolor sit er elit…”
The sample API that we’re using here just happens to have the body of the post included in the original fetch so it works to simply pass the object to the detail view. However, most API’s will require you to make a separate call to get more details. Let’s go ahead and fetch the body text from a separate request. We’ll just pass the id to the PostDetailViewController, and let that view handle fetching the post details.
Open PostDetailViewController and add a new variable for the id.
var postId: Int?Now, back in the prepare(for:sender) in PostsTableViewController.swift, set the id instead of the post object.
Replace
postDetailViewController.post = postwith
postDetailViewController.postId = post.idNow go back to PostDetailViewController.swift and create a new fetchPost() function and call it in viewDidLoad(). We can also remove the line that sets the postDetailTextView.text since we’ll do that when the fetch results come back. This time we’re going to construct the URL object from URLComponents. Notice in the components.path we are passing in the postId so we only fetch the one post.
private func fetchPost() {
    guard let postId = postId else { return }

    var components = URLComponents()
    components.scheme = “https”
    components.host = “jsonplaceholder.typicode.com”
    components.path = “/posts/\(postId)”

    guard let url = components.url else {
        print(“Failed to create a URL”)
        return
    }
}
Then we create our dataTask as before and update the post variable when the result comes back. Back on the main thread we update the postDetailTextView .
private func fetchPost() {
        guard let postId = postId else { return }

        var components = URLComponents()
        components.scheme = “https”
        components.host = "jsonplaceholder.typicode.com"
        components.path = "/posts/\(postId)"

        guard let url = components.url else {
            print(“Failed to create a URL”)
            return
        }

        let task = URLSession.shared.dataTask(with: url) { [weak self] data, response, error in
            if let error = error {
                print(“Error fetching data: \(error.localizedDescription)”)
                return
            }

            guard let data = data else {
                print("No data")
                return
            }

            let decoder = JSONDecoder()

            do {
                self?.post = try decoder.decode(Post.self, from: data)
            } catch {
                print("Failed to decode data: \(error.localizedDescription)")
            }

            DispatchQueue.main.async {
                self?.postDetailTextView.text = self?.post?.body
            }
        }

        task.resume()
    }
Go ahead and run it and it should work just as before. The only issue you might have is the text view originally shows the placeholder text, and then once the result set comes back, it updates to the new text. That’s a simple fix. We can remove the placeholder text and add in an activity indicator.
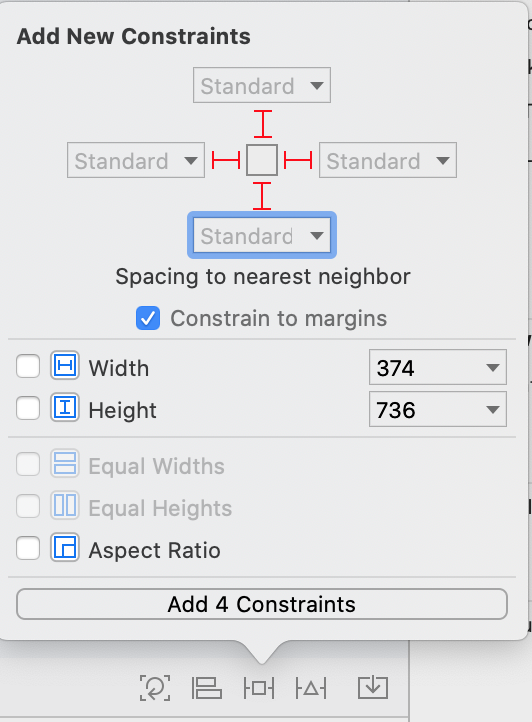
Open the storyboard and remove the placeholder text. I’m also going to add in some auto-layout constraints.
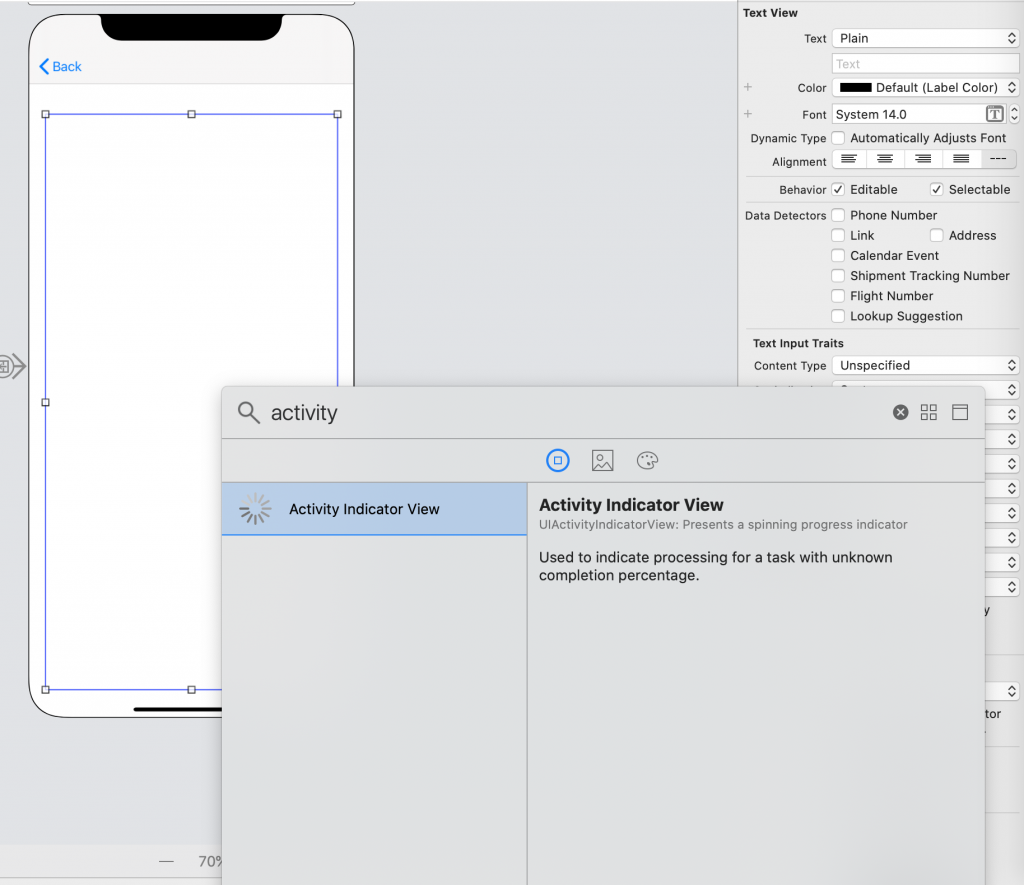
Drag an Activity Indicator on top of the TextView.
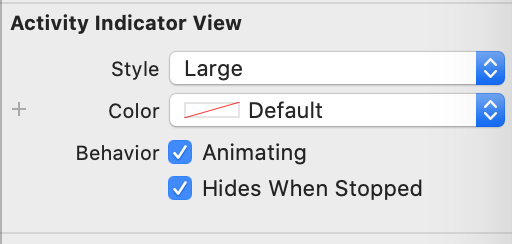
Set it to Large style, Animating, and Hides When Stopped.

Then go ahead and constrain it to the center of the view.
Open PostDetailViewController.swift in the Assistant Editor (Option-click on the file in the Project Navigator). Control-drag from the Activity Indicator to PostDetailViewController.swift to create another outlet and call it “activityIndicator.”
class PostDetailViewController: UIViewController {

    @IBOutlet weak var postDetailTextView: UITextView!
    @IBOutlet weak var activityIndicator: UIActivityIndicatorView!

. . .
In fetchPost() after the guard statement, start the Activity Indicator.
activityIndicator.startAnimating()Then stop it right after we set the postDetailTextView.
DispatchQueue.main.async {
    self?.postDetailTextView.text = self?.post?.body
    self?.activityIndicator.stopAnimating()
}
Conclusion
So hopefully that gives you a general idea of how to consume data from a RESTful API endpoint using URLSession. If you want to go deeper, I recommend the URLSession Tutorial on raywenderlich.com. You can download the code for the finished project here.